
To help you in your ceramic flooring installation project as recommended by floor suppliers, we share some recommendations to obtain the best result.
- Choose the size of the tiles according to the dimensions of the area. Take into account the measurements of the ceramic tiles according to your space. These are some formats that you can find:
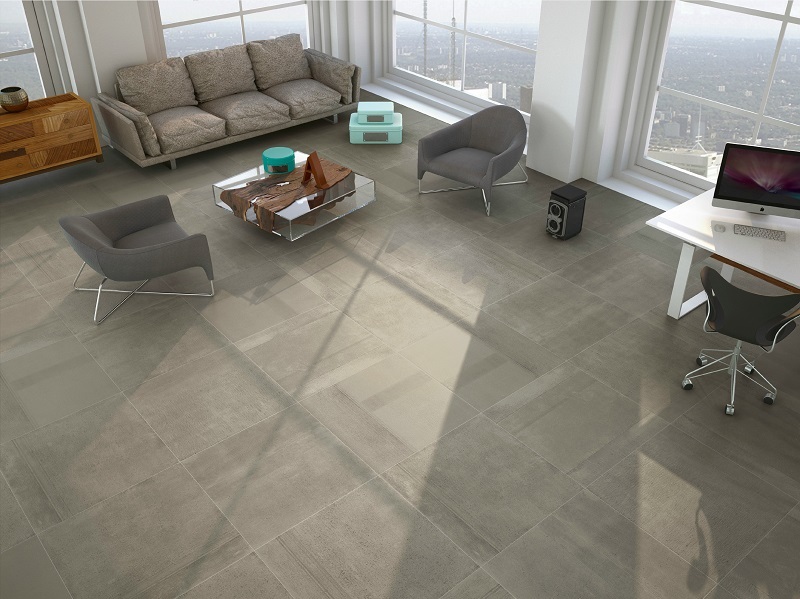
- Floors: from the conventional 30 x 30 cm format to larger formats of 55 x 55 cm recommended for larger spaces.
- Walls: formats from 20 x 20 cm to 35 x 60 cm.
* Tip: If you want to give originality to your spaces, use different formats and colors of ceramic floors on the same surface or combine the floor with the wall, apply decorative borders to enhance the contrast.
- Determine the starting point for drawing cuts
Positioning ceramic floor
How to measure the floor to place ceramic is very important to be later able to trace the starting point. Next, we tell you how to do it:
- On a plan, trace the installation’s starting point (block from the center and start the pattern along one edge). Depending on the tiles’ position, plan the cuts in the least visible areas, behind doors or furniture.
- Plan of the rooms where the ceramic floor will be placed
- Plan to visualize cuts of the tiles
If there are cuts that are less than half the average length, balance the area as follows:
- Balancing the area to avoid cuts that measure less than the standard measure
- Level the floor to place tiles
Verifying that the ceramic floor is level
For the installation of ceramic floor, the surface must be uniform. Identify its level of variation to avoid raised edges on the mosaic, tile, or floor.
- Little variation. Level the surface with the same adhesive that you used to install the tile.
- Considerable variation. Fill the uneven area with mortar or chip the surface if it is an over level.
- Prepare the surface
Gluing ceramic floor
To lay the ceramic floor requires a flat, smooth, dry surface free of wax, soap residue, or grease. Damaged or uneven areas must be repaired and leveled.
- Apply the proper filler
Applying the filler to place ceramic floor
Follow these recommendations to choose the filler that gives your ceramic floor or wall the perfect finish:
- The jointer is ideal for placing on walls because it does not contain sand. It makes it lighter and more aesthetic.
- The nozzle is more resistant due to its composition of sand; this adhesive is suitable for installing ceramic floors.
* Tip: Check in the box of the ceramic floor what size of nozzle or joint is recommended to place to choose the correct size of the spacers.
- Consider surplus material
Laying ceramic tiles
When calculating the amount of material needed, consider the square meters you will occupy to install the baseboard and round it up to the next square meter. Plus, add 5% for wasted cuts. Keep one square meter of each model for future replacements.